关于Bitnami项目介绍
The Bitnami Project was created to help spread the adoption of freely available, high quality open source web applications. Bitnami aims to make it easier than ever to discover, download and install Open Source software such as document and content management systems, wikis and blogging software.
https://bitnami.com/stacks
Redmine官方安装文档
http://www.redmine.org/projects/redmine/wiki/RedmineInstall
官网当前最新Redmine版本信息

下载Bitnami安装器
[root@iZj6cd9flzbx5kd084fw97Z ~]# wget https://bitnami.com/redirect/to/554708/bitnami-redmine-4.0.3-3-linux-x64-installer.run
--2019-05-29 23:07:54-- https://bitnami.com/redirect/to/554708/bitnami-redmine-4.0.3-3-linux-x64-installer.run
Resolving bitnami.com (bitnami.com)... 50.17.235.25
Connecting to bitnami.com (bitnami.com)|50.17.235.25|:443... connected.
HTTP request sent, awaiting response... 302 Found
Location: https://downloads.bitnami.com/files/stacks/redmine/4.0.3-3/bitnami-redmine-4.0.3-3-linux-x64-installer.run [following]
--2019-05-29 23:07:55-- https://downloads.bitnami.com/files/stacks/redmine/4.0.3-3/bitnami-redmine-4.0.3-3-linux-x64-installer.run
Resolving downloads.bitnami.com (downloads.bitnami.com)... 52.222.255.147, 52.222.255.100, 52.222.255.220, ...
Connecting to downloads.bitnami.com (downloads.bitnami.com)|52.222.255.147|:443... connected.
HTTP request sent, awaiting response... 200 OK
Length: 233756196 (223M) [binary/octet-stream]
Saving to: ‘bitnami-redmine-4.0.3-3-linux-x64-installer.run’

100%[=======================================================================================================================================================>] 233,756,196 12.2MB/s in 17s

2019-05-29 23:08:13 (12.9 MB/s) - ‘bitnami-redmine-4.0.3-3-linux-x64-installer.run’ saved [233756196/233756196]

[root@iZj6cd9flzbx5kd084fw97Z ~]#
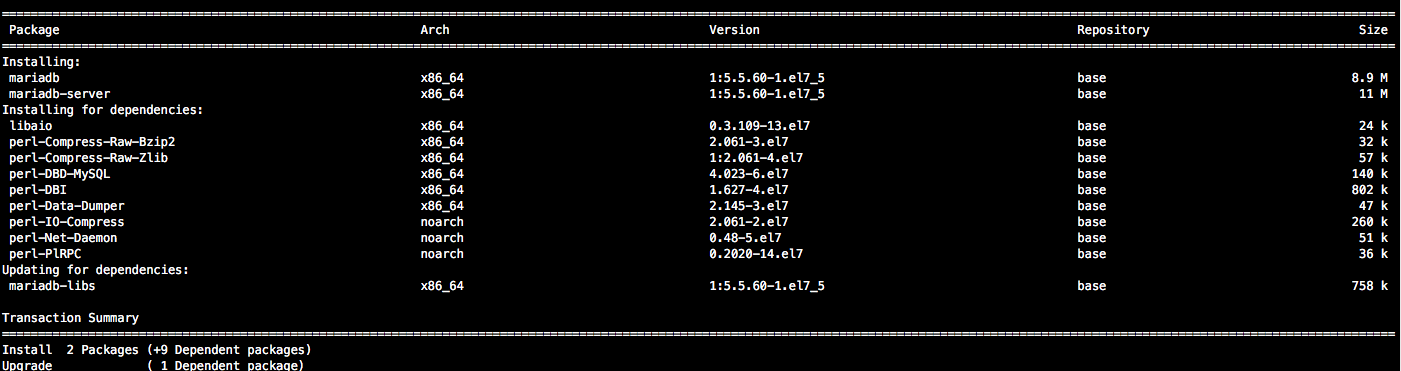
安装Perl及必要模块
https://docs.bitnami.com/installer/faq/linux-faq/administration/install-perl-linux/
[root@iZj6cd9flzbx5kd084fw97Z ~]# yum install perl perl-Data-Dumper
为安装器文件设置可执行属性
[root@iZj6cd9flzbx5kd084fw97Z ~]# ls
bitnami-redmine-4.0.3-3-linux-x64-installer.run
[root@iZj6cd9flzbx5kd084fw97Z ~]# chmod 700 bitnami-redmine-4.0.3-3-linux-x64-installer.run
[root@iZj6cd9flzbx5kd084fw97Z ~]#
运行安装器
[root@iZj6cd9flzbx5kd084fw97Z ~]# ./bitnami-redmine-4.0.3-3-linux-x64-installer.run
Language Selection

Please select the installation language
[1] English - English
[2] Spanish - Español
[3] Japanese - 日本語
[4] Korean - 한국어
[5] Simplified Chinese - 简体中文
[6] Hebrew - עברית
[7] German - Deutsch
[8] Romanian - Română
[9] Russian - Русский
Please choose an option [1] : 1
----------------------------------------------------------------------------
Welcome to the Bitnami Redmine Stack Setup Wizard.

----------------------------------------------------------------------------
Select the components you want to install; clear the components you do not want
to install. Click Next when you are ready to continue.

Subversion [Y/n] :Y

PhpMyAdmin [Y/n] :Y

Redmine : Y (Cannot be edited)

Git [Y/n] :Y

Is the selection above correct? [Y/n]: Y

----------------------------------------------------------------------------
Installation folder

Please, choose a folder to install Bitnami Redmine Stack

Select a folder [/opt/redmine-4.0.3-3]:

----------------------------------------------------------------------------
Create Admin account

Bitnami Redmine Stack admin user creation

Your real name [User Name]: Harvey Mei

Email Address [user@example.com]: harvey.mei@msn.com

Login [user]: admin

Password :
Please confirm your password :
----------------------------------------------------------------------------
Language for default data configuration

Select your language for default data configuration:

[1] Bosnian
[2] Bulgarian
[3] Catalan
[4] Czech
[5] Danish
[6] German
[7] English
[8] Spanish
[9] French
[10] Galician
[11] Hebrew
[12] Hungarian
[13] Italian
[14] Japanese
[15] Korean
[16] Lithuanian
[17] Dutch
[18] Norwegian
[19] Polish
[20] Portuguese
[21] Romanian
[22] Russian
[23] Slovak
[24] Slovenian
[25] Serbian
[26] Swedish
[27] Turkish
[28] Ukrainian
[29] Vietnamese
[30] Chinese
Please choose an option [7] : 30

Do you want to configure mail support? [y/N]: y

----------------------------------------------------------------------------
Configure SMTP Settings

This is required so your application can send notifications via email.

Default email provider:

[1] GMail
[2] Custom
Please choose an option [1] : 1

----------------------------------------------------------------------------
Configure SMTP Settings

This data is stored in the application configuration files and may be visible to
others. For this reason, it is recommended that you do not use your personal
account credentials.

GMail address []: rita.chen@gmail.com

GMail password :
Re-enter :
----------------------------------------------------------------------------
Setup is now ready to begin installing Bitnami Redmine Stack on your computer.

Do you want to continue? [Y/n]: Y

----------------------------------------------------------------------------
Please wait while Setup installs Bitnami Redmine Stack on your computer.

Installing
0% ______________ 50% ______________ 100%
#########################################

----------------------------------------------------------------------------
Setup has finished installing Bitnami Redmine Stack on your computer.

Launch Redmine application. [Y/n]: Y

Info: To access the Bitnami Redmine Stack, go to
http://127.0.0.1:80 from your browser.
Press [Enter] to continue:
[root@iZj6cd9flzbx5kd084fw97Z ~]#
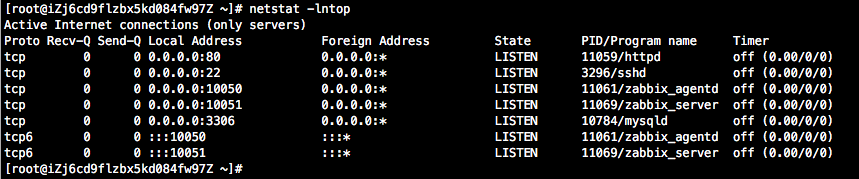
查看监听

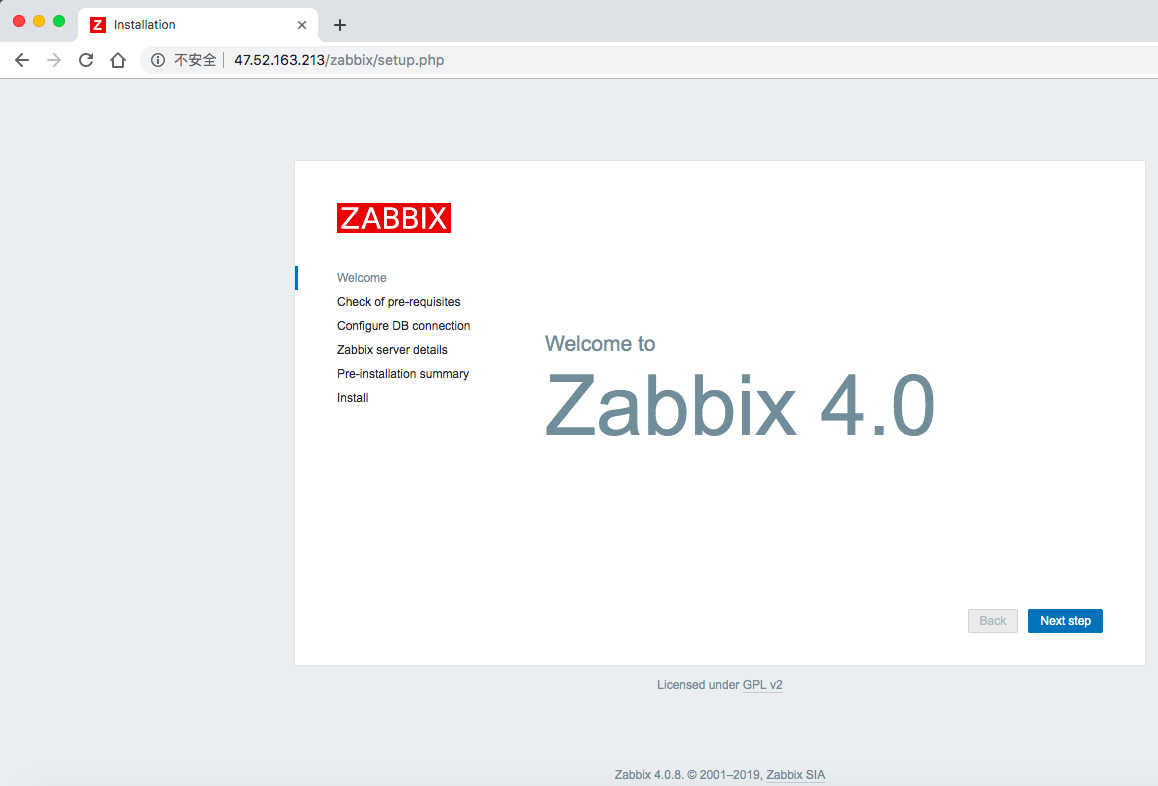
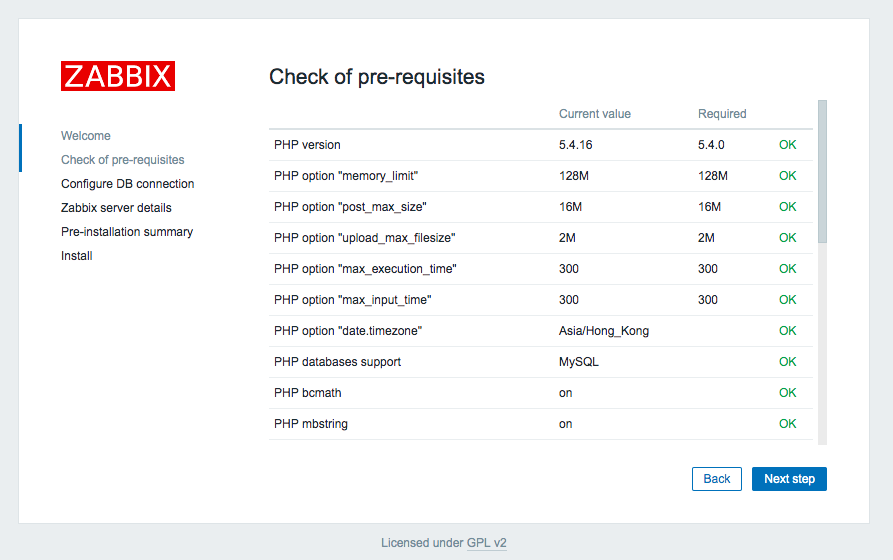
访问服务
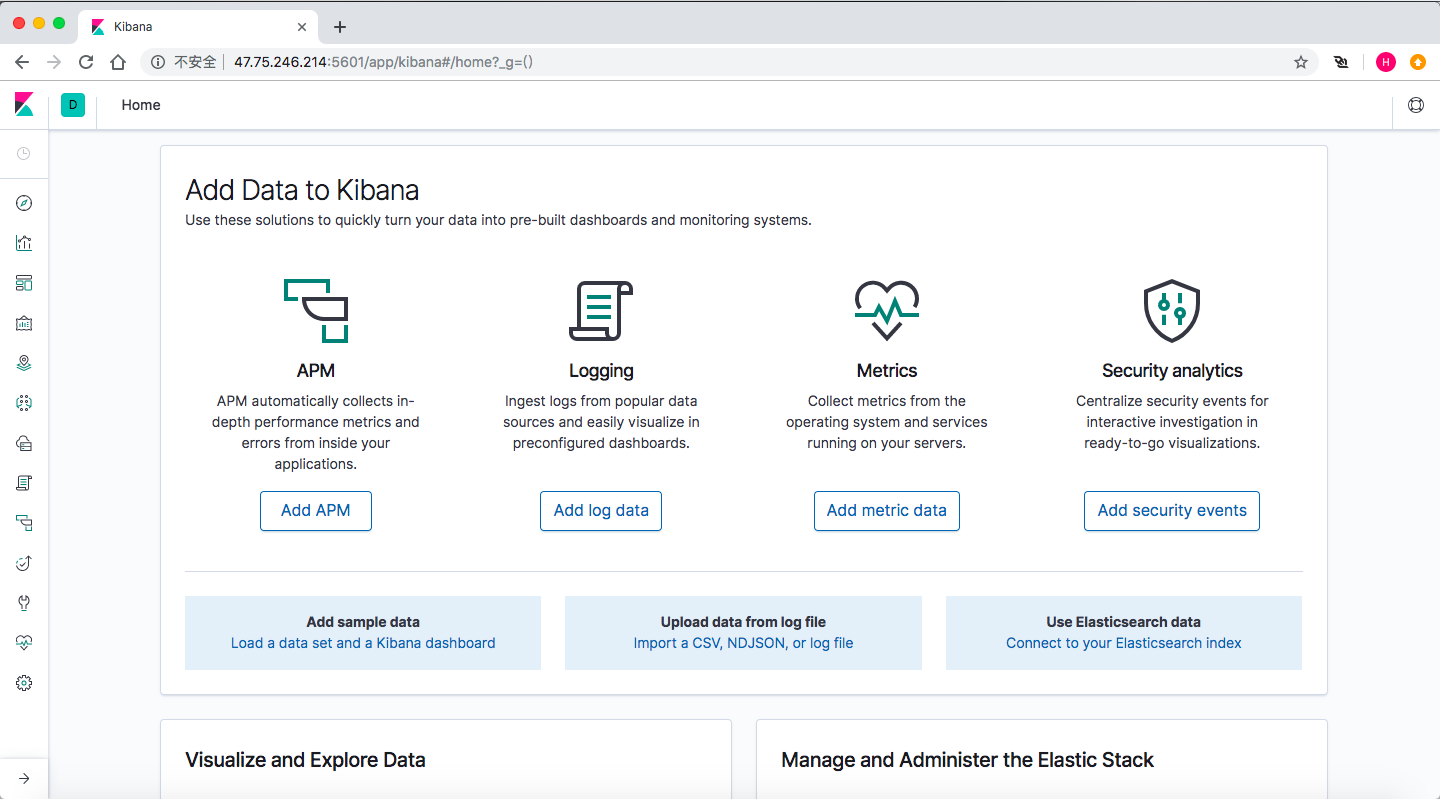
默认首页
Remine首页
Redmine登录页面

按照提示修改密码

密码修改成功

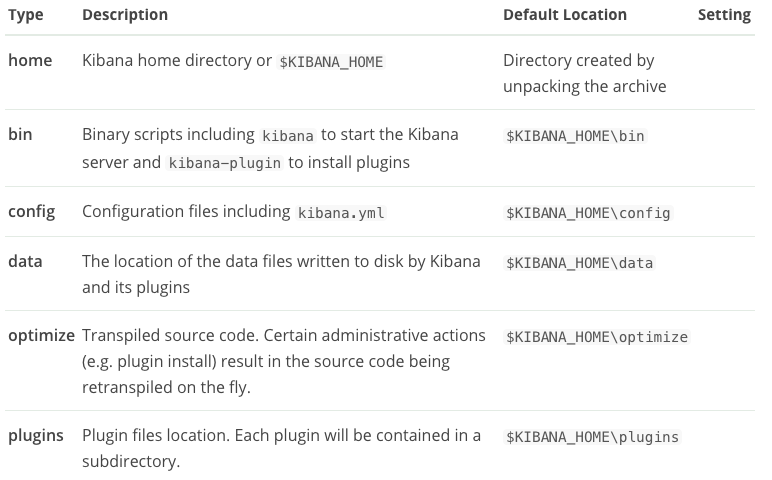
由Bitnami部署的Redmine服务的目录结构及服务控制脚本